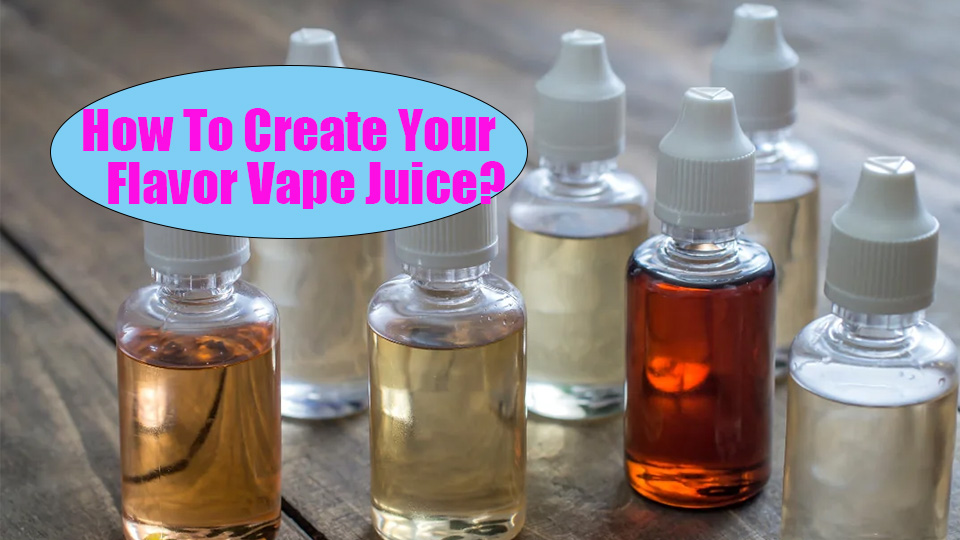
How To Create Your Flavor Vape Juice?

More and more vaper enthusiasts are exploring the joys of DIY, which has become a growing segment of the vapers industry.
All you need is a recipe, some basic equipment, and four basic ingredients to start your DIY journey.
Once you get started, you are free to experiment, tweak recipes, and mix flavors to your heart's content.
We'll provide you with the tools you need, the necessary knowledge, and the steps to get started making delicious juice.
What is Flavour Vape Juice?

Flavor vape juice, commonly known as e-liquid orvapeliquid, is made up of four key ingredients: vegetable glycerine (VG), propylene glycol (PG), liquid nicotine, and food-grade flavorings.
The majority of the e-liquid, typically over 90%, is composed of VG and PG.
VG contributes to producing denser vapor clouds, while PG delivers the "throat hit" sensation during inhalation.
The flavorings are always food-grade and come in PG concentrates, offering a wide variety of taste options.
Nicotine, when present, is in a liquid form mixed with PG.
The balance between PG and VG significantly affects the flavor intensity and vapor cloud size, shaping the overall vaping experience.
Why Create Your Flavour Vape Juice?
Creating your own flavor vape juice offers numerous advantages, from personalization to cost savings. Here’s why you should consider making your own:
1. Customization of Flavor
Experiment with various flavor combinations—whether fruity, minty, dessert, or savory—allowing you to craft unique vape juice that matches your taste.
2. Cost-Effectiveness
DIY vape juice offers cost savings, especially for frequent vapers. Purchasing ingredients in bulk is more economical than buying pre-made bottles.
3. Enhanced Knowledge
Making your own vape juice gives insight into propylene glycol (PG), vegetable glycerin (VG), and flavorings, enabling more informed vaping choices.
4. Avoiding Unwanted Additives
Avoid artificial sweeteners and additives in commercial e-liquids by choosing safer, natural ingredients in your DIY vape juice.
5. Unique Creations
Create exclusive blends not available in stores, tailored specifically to your flavor preferences and nicotine needs.
6. Reduced Dependency on Retailers
Make your vape juice at home anytime, reducing your reliance on retailers and ensuring a steady supply.
How To Create Your Flavor Vape Juice?

Creating your own vape juice at home is both fun and cost-effective. Follow these steps to make your customized flavor vape juice:
Step 1: Gather Essential Equipment
- Bottles: Use soft plastic bottles (30ml to 120ml) to store your juice.
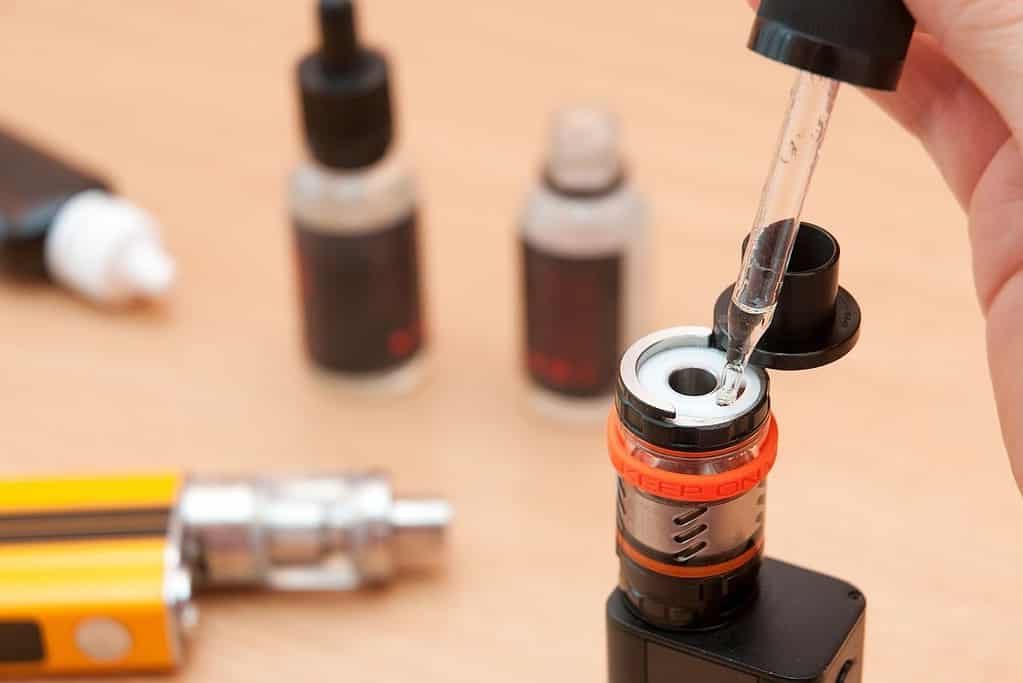
- Syringes & Pipettes: For accurate measurements of nicotine, PG, VG, and flavor concentrates.
- Gloves: Always wear gloves when handling nicotine to avoid skin contact.
- Kitchen Roll: Keep it handy for spills and cleaning.
- Measuring Containers: Optional, but useful for larger batches.
Step 2: Gather the Ingredients
- Nicotine Shots: Choose between freebase or nicotine salts, depending on your preference for throat hit and smoothness.
- PG (Propylene Glycol) & VG (Vegetable Glycerin): These form the base of your juice. VG produces large clouds, while PG enhances flavor and throat hit.
- Flavor Concentrates: Select reputable vape-specific flavorings and blend them according to taste.
Step 3: Calculate Your Recipe
Recipes for e-juice online view, ,then use an e-juice calculator to input your desired vape juice volume, nicotine strength, VG/PG ratio, and flavor percentages.
the ratio of PG and VG is according to the actual demand, if there is more PG, there will be a stronger sense of throat and lighter smoke, VG is vice versa, those who like big smoke prefer more VG, and small smoke will generally take a 50:50 ratio, taking into account The small smoke will generally take a 50:50 ratio, taking into account the sense of throat and the amount of smoke.
Step 4: Prepare Your Base Mixture
Measure the amounts of PG and VG using syringes or containers as determined by your calculator.
Put on rubber gloves and add the VG solution of nicotine to the vessel.
Since nicotine is very viscous and tends to sink when making and dispensing vape oil, you need to shake it for a while before adding it.
Step 5: Add Flavor Concentrates
Experiment with flavoring PG and VG into the vessel. Start with 5-20% of the total mixture for flavor concentrate, adjusting based on your taste preference.
Step 6:Mixing and Blending Multi-Layered Oil Components
After pouring all of them, we will find that the four components have different weights, so the oil will be clearly divided into four layers.
We will find that the four components have different weights.
At this point, you need to stir the mixture thoroughly to ensure uniform consistency and keep shaking to make sure they are fully integrated.
Step 7:Transferring and Sealing the Mixture
Use syringes or pipettes to transfer the mixture into new juice bottles .
Label the new juice bottles with the appropriate information, seal them tightly, and store them properly.
Step 9: Clean Your Work Area
Clean each bottle with warm water and dry them thoroughly.
Next, cleanthe work surface twice, using fresh materials each time.
Finally, remove your gloves and chuck them into the garbage.
Step 8: Steep and Wait
Store your bottles in a cool, dark place and let them steep for 4-5 days.
This allows the flavors to blend and intensify.
After steeping, your custom vape juice is ready to use!
Conclusion
Learning how to make vape juice offers the freedom to explore different flavors and strengths.
It can be a lot of fun and a great way to tailor your vaping experience to your preferences.
However, you must always follow safety precautions while making your e-liquid for your safety and to guarantee a successful blend.
