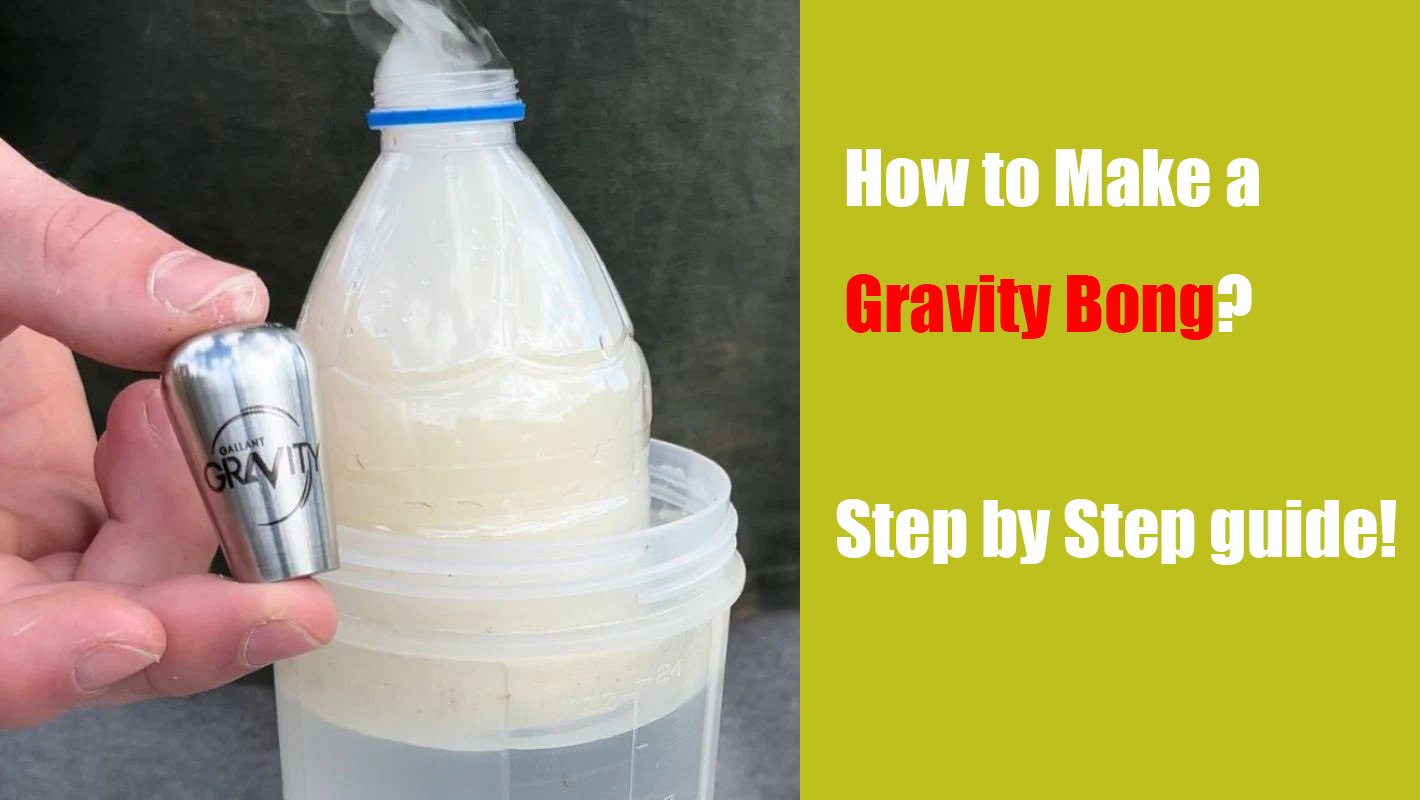
How to Make a Homemade Gravity Bong? Step by Step guide

If you don't have smoking devices on hand or just looking for a new way to smoke pot flower, then why not try making your own gravity bong?
Gravity bong is is a simple yet effective smoking device and well known for its strong hits that can get you very high instantly.
Once you know how to make a homemade gravity bong, you'll never have to worry about lack of smoking device again.
Even better, Making a gravity bong—or water bottle bong—is easy. All you need is a few common household materials and you're good to go.
In this guide, we'll walk you through everything you need to know on how to make a gravity bong from scratch.
What is a gravity bong?

Also called a geeb, gravity bong is a smoking device used to smoke dry herbs.
It utilizes water and gravity to create suction that collects smoke in the bottles, allowing the user to draw in a large amount of smoke quickly.
A bucket bong and a waterfall bong are both types of gravity bongs they just have slight tweaks in the design. Generally, Bucket method is more popular and easier to make at home.
How does a gravity bong work?
The gravity bong typically consists of a container (such as a plastic bottle or glass jar) filled with water, with a bowl or cone piece attached to the top.
By lighting the flower in the bowl and slowly lifting the container out of the water, a vacuum is created that pulls smoke into the chamber.
Once the chamber is filled, the user removes the bowl and inhales the concentrated smoke.
Step-by-Step Guide: How to Make a Bucket Gravity Bong?
Gravity bong is typically made using common household items, and here's a step-by-step guide to help you create one.
Step 1: Gather Your Materials
You'll first want to gather your materials for this DIY project. You'll need:
A plastic bottle (like a 1 L soda bottle).
A bigger plastic bottle (like a 2 L soda bottle), container or bucket.
Aluminum foil or a bowl piece.
A sharp knife or scissors.
A toothpick or paperclip.
Lighter or matches
Water
Step 2: Cut the Bottles
Use your knife or scissors to cut the bottom off your smaller bottle.
The more of the bottle that remains, the larger the hit you'll receive, so be careful not to trim too much off the bottom of the bottle.
Next, If you're using a bucket, fill your bucket with water.
If you're using a larger bottle in place of a bucket, cut off one-third of its top and fill it with water.
For the larger bottle, keep the bottom of the bottle. Also, keep the top of the smaller bottle.
Step 3: Make the Bowl
Drill a hole in the cap from the smaller bottle. Remove bits of the plastic using the knife until you are left with a pinky size hole.
Cut a small square of tin aluminum foil, large enough that it can be pressed into the pinky size hole to make a bowl.
Use your pinky to make a bowl shape before pressing it into the cap's hole. Remove any excess foil.
Use a paperclip, toothpick, or some other poking tool to poke several small holes in the foil. You'll need about 4-5 holes for proper ventilation.
Step 4: Smoking Preparation
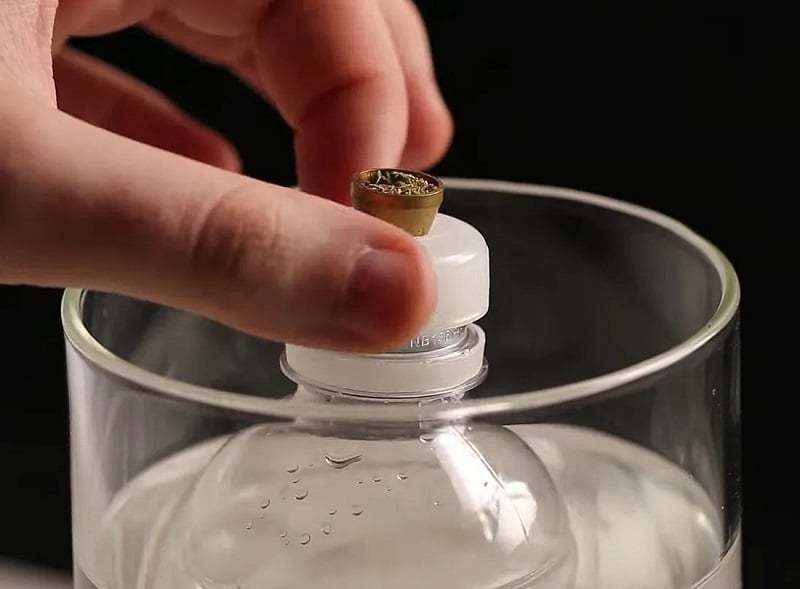
Place your foil bowl back onto the top of the smaller bottle.
Submerge the bottle into the container of water so that the top opening is the only part sticking out.
Grab a pinch of dried herbs and pack it into the bowl.
Step 5: Light and Lift
Light up your dry herb. As it starts to burn, gently lift the bottle out of the water, which creates a suction that fills the empty part of the bottle with smoke.
You should lift the bottle up enough that it pulls all the smoke down into the bottle but does not fully emerge from the water as this will release the smoke.
Step 6: Inhale and Enjoy
Once the chamber of bottle is full, Unscrew the cap of the bottle. Put your mouth over the nozzle and slowly breath in while quickly pushing the bottle down. This will force all the smoke into your mouth!
Inhale as much as possible, withdraw, and hold your breath for three to seven seconds while you screw the cap back on. This will force the smoke into your lungs, delivering a potent hit.
Avoid letting the smoke sit for too long. It can get stale/harsh that way.
How to Make a Gravity Bong with a Metal Socket?
It's important to note that using aluminum foil as a bowl may not be the healthiest option, as it can release harmful substances when heated.
Method 1: If at all possible, use a metal socket that you can buy from a convenience store to avoid and replace the foil bowl.
After poking the hole on the plastic cap, widen the hole using your appropriate tool.
Ensure that the hole is huge enough that allow you to slide the tapered end of socket through the whole.
The socket should fit as snug and tight as possible to the cap so that any air is drawn through it and not around it.
Pro tips: We recommend you use the electrical tape to seal the connection (where socket meets lid), or use the lighter to heat up the cap and when it is a little melted just shove the socket into the cap and it makes a super airtight fit.
Method 2: Baby carrots make great bowls if you trim it to fit the downstem and poke a hole through with a toothpick. carve out a bit to put your herbs. Fruit are all safe to smoke out of.
How to Make a Waterfall Gravity Bong: 5 Steps
Making your own Waterfall Bong is easy, fun, and very similar to making your own Gravity bong.
Step 1: First Prepare the materials you'll need to make a Waterfall Bong:
A Plastic Bottle. Aluminium Foil or Glass Bowl. A sharp Knife. A toothpick or paperclip.
Step 2: The second step in making a waterfall bong is to make a small hole in the side of the plastic bottle, near the bottom. This is where the "waterfall" will be created.
The hole should be large enough to allow liquid to flow out with easy, but small enough to cover it with your finger.
Step 3: Then it's time to make the bowl. You can either make your own bowl out of aluminium foil / tin foil. Pack the plastic bottle cap in aluminium foil and punch holes in it to make a bowl to burn the herbs.
Step 4: Fill the bottle with water, Ensure that your finger is firmly in place over the hole in the bottle.
Step 5: Put the cap with bowl back to the bottle, and then remove the finger as you light your herbs to allow the water to flow out from the bottle.
As the water drips from the bottle, the smoke will get pulled down from the bowl and into the bottle.
Step 6: Once the water in the bottle is replaced with smoke, quickly place your finger back over the hole in the bottle to trap the smoke.
When you are ready to inhale, remove the bowl and place your mouth over the opening. Meanwhile, Make sure to remove your finger from the hole in the bottom of the bottle.
Tips for a Better Gravity Bong Experience
Use Clean Bottle and water: Ensure the bottle and water is clean for the best taste. This can avoid any contaminants, which helps preserve the flavor of your flower.
Airtight Seal: If using metal socket, ensure it's tightly sealed around the mouthpiece.
We recommend you use the electrical tape to seal the connection (where socket meets lid), or use the lighter to heat up the cap and when it is a little melted just shove the socket into the cap and it makes a super airtight fit.
Safety First: Be cautious with the plastic and aluminum foil, especially when they're heated. Consider using a glass piece alternative for safer use.
Correct Inhalation technique: If you are a first-time user of a gravity bong, be careful because there is a lot of smoke produced.
Because of the concentrated dose, you should start by inhaling a little of the smoke.
Cooling Smoke: You can dilute the water with ice or use cool water if the smoke is too intense to handle. This way, you can enjoy your smoke with a less drastic high.
Gravity Bong vs Regular Bong: Which one is better?

A gravity bong is a very fun way to smoke, that can get you really high, really fast. But when comparing Gravity bongs vs regular bongs, which one is better?
To us, there is no doubt about it: a normal bong is many times better than a gravity bong, because the water in a gravity bong doesn't improve the quality of the smoke, whereas the water in a normal bong does.
In a regular bong, As you inhale, the smoke passes through the water, which cools and cleans it. This makes the smoke smoother and less harsh on your throat and lungs.
As a comparison, the water in a gravity bong does not really cool or filter the smoke, so we think that you shouldn't really call a gravity Bong a real bong. It works not the same at all.
Do gravity bongs get you higher?
A gravity bong uses the water to create a seal for the chamber and then helps propel the smoke towards you, producing an impact that many devices can't deliver.
They get you super high without using ton of weed. With each hit, you take in a large amount of heavily concentrated smoke, which is forced into the lungs.
For this reason, smoking through a gravity bong can be an awesome experience for a seasoned pothead who want to get super freaking high.
However, a newbie who isn't used to taking large strokes will likely experience a lot of coughing.
Conclusion
Now that you know all the steps involved, you can gather your materials and start creating your own homemade gravity bong.
Both Bucket and Waterfall bongs are easy to make, go ahead and experiment with both types. Enjoy your homemade gravity bong experience!
Gravity bongs can be an excellent smoking choice whether you're in a pinch and lacking smoking devices or if you simply want to mix up your typical smoking experience.
Also, remember that the hits can be very strong, so experiment cautiously until it hits your sweet spot.
If it's too much for you, invest in a classic glass bong to have fun with your friends every session.
